Travel Camera Packing: Padded Insert vs Organized Daypack

Affiliate disclosure: As an Amazon Associate, Gear for Greatness earns from qualifying purchases. We may earn a commission at no additional cost to you. No hands-on testing is claimed.
Begin with the equipment you actually carry
A casual walking-video kit might include a small camera, spare battery, microphone, compact grip and a phone. A dedicated camera backpack can organize this equipment, but it may be excessive if you already own a comfortable daypack. A padded insert converts an ordinary bag into a more protective equipment compartment. The right choice depends on how frequently you access the camera, how much non-camera gear you carry and whether the bag must fit particular transit or airline rules.
The padded insert approach
A removable padded insert lets you use a familiar backpack for both ordinary travel and filming days. Adjustable dividers can separate a camera from accessories, and the insert can be lifted out when photography is not the purpose of the trip. Check the external dimensions against the inside of the pack, allowing space for zippers and seams. An insert that fills the bag completely may make retrieval frustrating. Loose batteries and small memory cards still need individual protective storage; soft dividers alone are not a safe universal solution.
A purpose-built daypack
A dedicated camera backpack may offer side access, separate compartments, padded shoulder straps and provisions for a tripod or water bottle. These are useful only when they match the way you film. A side-opening camera section may be convenient while standing, but a complicated rear panel can be awkward if you need to reach one spare cable. Inspect whether the bag can hold normal travel items along with the camera. A camera label does not guarantee weather resistance, theft protection or comfortable carrying.
Comfort matters over long walking days
Compare the full loaded weight and how it rests on the shoulders. Broad padding alone is not enough: strap adjustability, back-panel ventilation and load distribution influence comfort. A heavy camera kit packed far from the back can feel more awkward than the same load packed closer to the body. If you expect to walk for hours, practice with the actual contents before leaving. Keep frequently accessed items near the top while making sure no loose equipment can fall when a zipper opens.
Rain protection has limits
A water-resistant fabric and a waterproof bag are not interchangeable promises. Zippers, seams and openings may admit rain even when the outer material sheds droplets. For important cameras and batteries, consider separate protective pouches or a suitable rain cover and follow the equipment manufacturer's own moisture guidance. Avoid opening a camera compartment while rain blows directly into it. If contents become wet, separate damp fabrics from electronics and allow gear to dry according to the relevant instructions.

Airport and train practicality
Check published baggage dimensions and weight restrictions for the actual carrier before travelling. A padded insert may be easier to remove for an inspection, whereas a purpose-built bag can keep the camera system organized in one place. Do not assume that an airline will accept a bag simply because it is marketed as cabin-sized. Batteries, especially loose lithium batteries, may have special transport rules. Review current airline and transportation requirements rather than copying advice from a generic product listing.
Security in busy public spaces
A bag that looks understated can be attractive for city filming, but security depends more on awareness and access control than appearance. Close zippers when moving between locations and avoid displaying valuable gear while distracted. A camera on a wrist strap is not a replacement for a secure transport case. Some backpacks position the main gear opening toward the wearer's back, but test whether that design remains practical. Choose a layout that lets you put the camera away quickly when you need both hands free.
Divide the kit deliberately
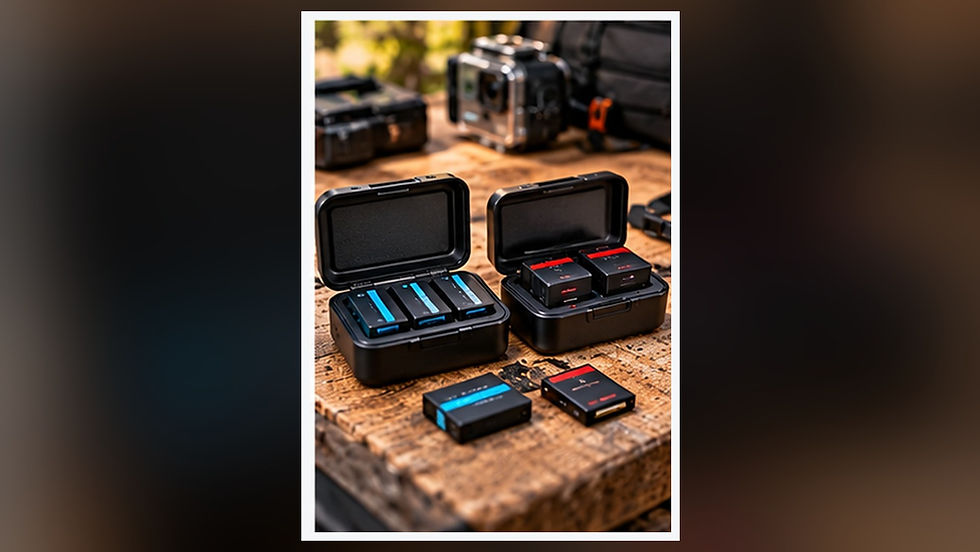
Keep cards in a labeled hard case or suitable organizer rather than mixing loose media with keys. Use individual sleeves for cables, and protect connectors from pressure inside overstuffed pockets. Place chargers where you can reach them without opening the entire gear compartment. A small checklist attached inside the bag can prevent leaving batteries or lens caps behind. Consider whether a single-camera setup would benefit more from a compact pouch than an additional large backpack.
Buying checklist
Measure camera dimensions with its grip or lens attached, then measure the compartment or insert. Check adjustable dividers, zipper access, shoulder comfort, rain resistance claims, actual weight and airline-size compatibility. Inspect tripod attachment points and make sure they do not swing into other people on crowded streets. Budget for card protection and a modest waterproof pouch where needed. The best purchase is the smallest system that safely fits the camera and other essentials.
Frequently asked questions
Can I use a normal backpack for camera travel? Yes, with suitable padding and secure storage, but the protection and access must match the equipment. Are camera bags waterproof? Not necessarily; read the exact product claims and limits. Is an insert better for one camera? It can be, particularly if you already like your existing bag. Are larger bags more protective? Capacity and padding design matter more than size alone. Avoid carrying more weight merely because spare compartments are available.
Explore equipment on Amazon
Option 1 — Padded Camera Bag Inserts
Option 2 — Camera-Friendly Travel Daypacks
Links lead to Amazon search pages. Confirm exact item specifications, compatibility and seller terms before buying.

Comments