Camera Filter Cleaning: Dust Blower vs Pre-Moistened Optical Wipe

Affiliate disclosure: Gear for Greatness may receive a commission through qualifying affiliate purchases at no additional cost to you. This is research-based buying advice without claims of firsthand testing every product.
What the choice means
Camera filters collect dust, fingerprints and occasionally rain spots. A hand blower removes some loose particles without contact, while an approved pre-moistened optical wipe can help with oily residue. They solve different cleaning problems and should be used in the correct order.
Practical benefits
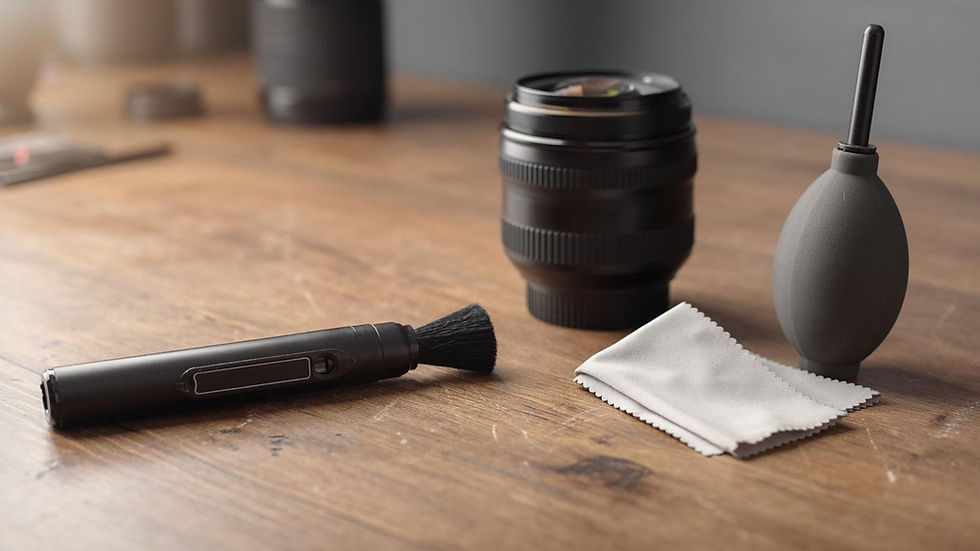
A clean blower is a sensible first step when dry grit is visible. Keep the nozzle away from the coated surface and prevent dust from entering the bulb during storage. Air cannot reliably dissolve fingerprint oils or dried contamination.
Alternative trade-offs
An optical wipe designed for coated glass may remove smudges when used according to its instructions. Check chemical compatibility with the filter maker's coating. Do not use household disinfectant or rough paper towel on delicate optics.
Important compatibility details
Loose abrasive particles should be displaced before wiping. Dragging sand across the surface can damage coatings even with a soft cloth. Inspect the filter in good light and clean only when marks actually affect the image or operation.
Safety and maintenance
Filter threads and rotating rings need separate attention. Excess liquid can enter a variable ND mechanism, and grit in the ring can cause binding. Avoid flooding the mounting edge or turning a stiff filter aggressively.
Choosing with confidence
Choose a blower for routine loose dust, and an approved wipe when gentle contact cleaning is necessary. Good storage reduces the need to touch optical surfaces and prolongs useful filter life.
Before relying on the equipment
Before cleaning, remove the filter only if it is safe to do so and hold it over a clean surface. Use gentle air to clear loose particles, then apply a compatible wipe from a fresh packet if oily residue remains. Let the surface dry before reinstalling it. Inspect the final image for smudges and flare instead of repeatedly polishing an already clean filter.
Prevent residue on coatings
Avoid reusing a wipe that has collected dirt. A fresh appropriate optical wipe is preferable to rubbing the same contaminated surface again and again.
Compare current products
Verify manufacturer's current specifications, exact compatibility and seller terms.


Comments